
Cold composting
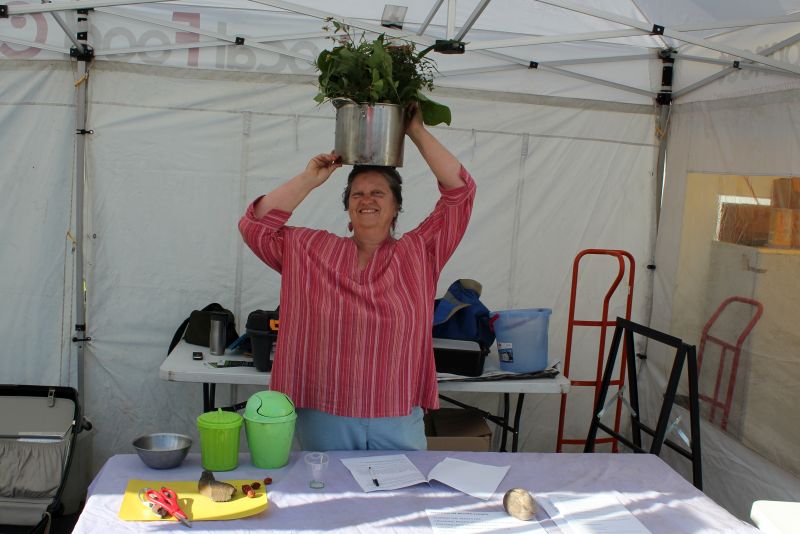 Marina Bistrin is an avid gardener. In February 2019, she gave a series of talks about cold composting as part of the Sustainable Living Festival. Afterwards, she wrote this article for our website.
Cold versus hot composting
In cold composting, you simply keep adding material to your compost pile without turning it. It is in contrast to hot composting, where you turning the compost pile regularly to create heat during the composting process.
Why hot compost?
Hot composting kills everything with self-generated heat (diseased material, seeds, biota). It also breaks down the structure of garden and food waste materials quickly so that they can be used on the garden combined with, or instead of soil. It is a fast process (3-4 weeks is common) and the end result is fine compost.
However, hot composting takes effort because the compost pile needs to be turned regularly.
If you are interested in hot composting, read Angelo Eliades’ article on the subject.
Why cold compost?
Cold composting is easy as you don’t need to turn it. There is less off gassing of nutrients such as nitrogen and carbon dioxide as the temperature is lower, and it also allows soil biota to make humus for longer during the lengthy maturation period.
Whereas hot composting need a cubic metre of material to start, cold composting can be done by small gradual additions of organic waste to your compost bin.
However, cold composting typically takes from 6 months to 1 year or even longer.
My lazy cold composting method
I have a number of cylindrical lidded plastic compost bins slowly maturing in sequence. They are put directly onto the ground over a sheet of wire mesh to keep out rodents and/or a layer of sticks as the first layer. The lid also keeps out the rodents. At least during summer, they are set up out of the sun. The benefit of setting up directly on the soil is that worms can move in and out as it suits them. If the bin gets too hot they will move out until the pile cools down and in the cold weather it stays warmer than a traditional worm farm. Their food is in the compost bin, so they will keep coming back to it.
I gradually add varied material including food scraps, lawn clippings, prunings, paper/cardboard waste, coffee grounds, coffee husks and a few wood shavings. I also add a bit of soil or compost as a microbe inoculant. Other possible additions include biochar, brown coal powder (lignite), farm animal manures, blood & bone, rock dust, egg shells (which are best ground up fine). Cat and dog poo should be composted separately.
After adding a layer of food scraps, I usually add a layer of material that doesn’t attract flies such as mixed coffee grounds and coffee chaff, wood shavings, lawn clippings.
I also add sticks and prunings to create aerated layers, along with torn paper and cardboard strips, to create a supporting web (like a hammock) to stop the heap collapsing too much and becoming anaerobic. This also helps to provide an open structure that worms can travel through, and feel safe. And it makes it virtually impossible to over-water. Some people use a centrally placed slotted poly-pipe as an aerator.
Do not add seeds, diseased material or resilient weeds to cold composts as these can survive the cold composting process and cause problems in your garden (see the later discussion on composting weeds).
As I add each layer, I water it with clay slurry (clay mixed with water), as the compost needs to keep moist. The slurry, or a sprinkling of clay-based soil, also promotes humus formation,
It’s important to keep the pile moist, so I usually water the compost when I water the garden.
Set and forget
The level of the compost will keep sinking as it decomposes, and you can keep on adding more until it’s full. It can take months for the bin to become full. Once it is full, give it a final water, cover with a lid, and forget it for a few months until you need compost.
After 3 to 6 months, most of compost will be ready. In any case, the bottom layer should be mature. To harvest the bottom layer, lift the plastic bin up off the pile, move the top layer of half-composted material into a new compost bin and harvest compost from the bottom. There may still be larger sticks visible, but you can sieve these out or just remove them by hand and add them to the new compost.
Why add weeds to your compost?
Weeds add nutrition and organic matter to the compost. Weeds with deep roots mine nutrients from the lower levels of soil where shallow rooted plants can’t reach, and bring it to the surface in their leaves or store it in thick taproots. Some weeds, e.g. comfrey and yarrow leaves, are compost accelerators and provide nutrition for the pile.
Which weeds to include in your compost?
Choose weeds that don’t regenerate easily or have mature seeds on them. Many weeds – such as chick weed, cleavers, mallow, purslane and nettles – can be easily dealt with so they don’t regenerate, for example by tearing the root from the leaves.
Using compost
On well established garden beds with good soil, compost can be sprinkled on top of the soil rather than digging in (see Steve Solomon’s suggestion in the book The Intelligent Gardener). However, if your soil is poor in nutrients and needs aeration, digging in is fine.
You can also put veggie scraps or partially digested compost in the bottom of trenches and refill with a deep layer of your fine topsoil. It is a great soil activator and reservoir for water and nutrients. This will keep on decomposing, but you can plant into the soil on top immediately.
When using not-quite-finished compost – it’s usually ok to put it on the garden but there are a few veggies such as carrots that don’t like being in contact with material that’s still decomposing.
Making your own compost bins
Large plastic rubbish bins with lids can be made into compost bins by drilling holes in the bottom or using them upside down and cutting the bottom out. The lid can still be used on this.
Mini composts can be made in buckets with lids and holes drilled in the bottom (great for pet poo). Or cut the bottom out and partially bury the bucket.
Links
- Humus and compost: www.gardeningknowhow.com/composting/basics/compost-vs-humus-in-garden.htm.
- Soil analysis: Steve Solomon’s website.
- Reground collect coffee grounds and chaff (coffee husks) and deliver it in bulk to home growers to compost.
Can you put compostable plastics into a cold compost pile? Specifically the PLAs etc that are not marked Home Composting? I have read that these require industrial composting because they need temps of 55 C or more but I also read that hot home compost piles need to get to that temperature.
And surely if your cold compost heap is out in the summer sun it will get that hot too.
Belinda – I don’t include compostable plastic though. I know it takes ages to decompose and I ended up throwing a lot in the bin when I was sorting a friend’s compost bins. Her bins were the normal cylindrical ones and her husband insisted on putting the compost in a ‘compostable’ bag rather than putting directly into the compost bin and rinsing out the container. I don’t need to get my bins to a high temperature for the type of compost that I’m doing. Personally if I was lining a compost container, I would tend to put newspaper in it because at least that would compost efficiently.
Hi Marina,
Would this be anaerobic? Are there holes in your compost bin at all? How does it go for smells? I am interested in this cold method of composting as there is no way that I’ll keep up with the turning (haha) but I am worried of smells.
There are no holes in the bins and i don’t recommend the bins with holes in the sides for my method – I find the sides where the air holes are dry and and don’t compost. As there are air gaps through the pile because I add broken sticks in regularly, it doesn’t become anaerobic and doesn’t stink.
Thanks Tamara. I realise I didn’t mention how I deal with weeds that might regenerate from resilient roots, such as Kikuyu grass. I drown them for a couple of months till I’m sure they are dead (they are nice and stinky , soft and gooey), and then pour them into a compost as the compost absorbs the smells easily. Or they can be used as weed tea fertiliser, or poured into a trench and covered up. Another tip for keeping your compost moist is to put the lids on the bins upside down so they catch rainwater, which is much better than tapwater that has chlorine and fluoride to added. Cheers, Marina
This article is so helpful, thank you.